主题
在算力自由上从零部署Himloco,训练1小时,四足机器人稳定通过任意地形
一.Himloco
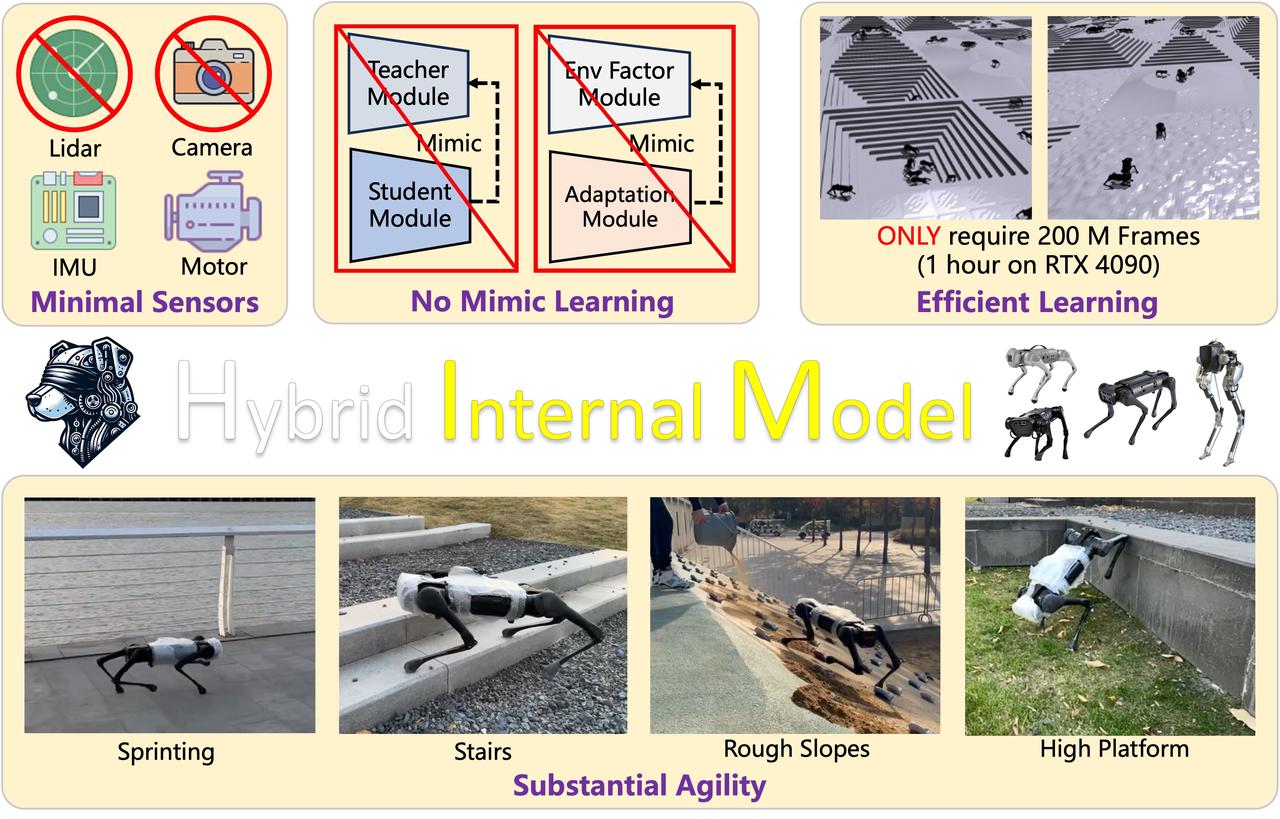
HIMloco(Hierarchical Internal Model for Locomotion,分层内部模型 locomotion框架)是在PPO算法核心与rsl_rl算法库基础上,针对足式机器人复杂场景应用提出的增强型控制框架。其核心目标是解决足式机器人在非结构化复杂环境下的盲视运动(Blind Locomotion)问题,以及强化模型从仿真到现实(Sim-to-Real)的泛化能力。
arXiv:https://arxiv.org/abs/2312.11460
arXiv PDF:https://arxiv.org/pdf/2312.11460
项目主页:https://github.com/InternRobotics/HIMLoco
二.环境配置
1.镜像源选择
**官网进入镜像仓库,选择”CUDA“,选择“Cuda12.4”****,右侧”快速创建“,****实例初步启动耗时约 5 分钟。点击“Desktop”**进入 桌面。
镜像地址: https://www.gpufree.cn/images/100101
2.创建一个虚拟环境
用vscode的ssh插件,连接到主机。
请参考官方帮助文档:
https://www.gpufree.cn/docs/guide/instance/ssh.html#SSH修改密码
创建虚拟环境
plain text
conda create -n wsx python=3.8.10              #创建虚拟环境
conda activate wsx                             #进入虚拟环境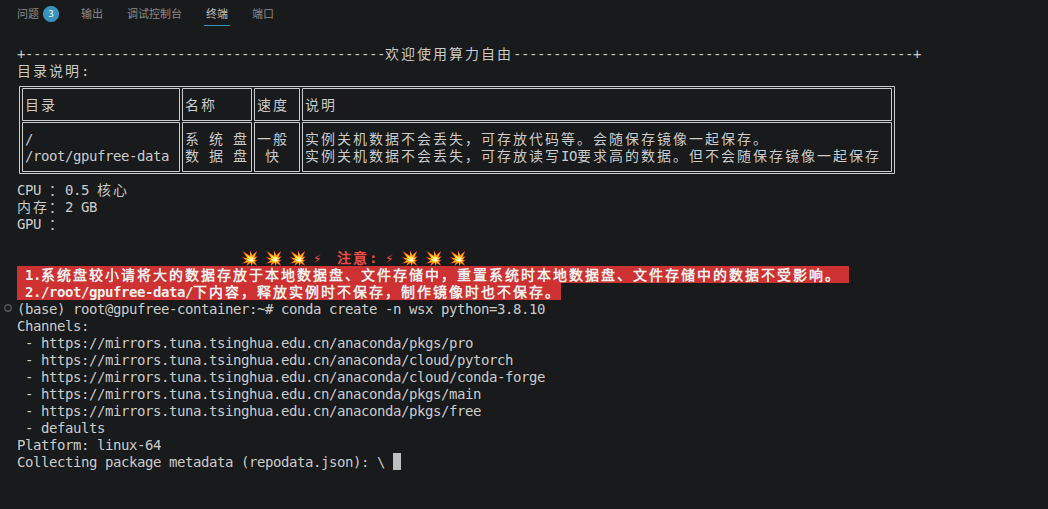
3.安装PyTorch + torchvision
plain text
pip install torch==1.13.0+cu117 torchvision==0.14.0+cu117 -f https://download.pytorch.org/whl/cu117/torch_stable.html4.安装pytorch(深度学习库)
plain text
sudo apt update
sudo apt install python3-pip安装依赖:
plain text
pip install torchvision -i https://pypi.tuna.tsinghua.edu.cn/simple
pip install torch -i https://pypi.tuna.tsinghua.edu.cn/simple
pip install pyquaternion -i https://pypi.tuna.tsinghua.edu.cn/simple
pip install pyyaml -i https://pypi.tuna.tsinghua.edu.cn/simple
pip install pexpect -i https://pypi.tuna.tsinghua.edu.cn/simple
pip install matplotlib -i https://pypi.tuna.tsinghua.edu.cn/simple
pip install einops -i https://pypi.tuna.tsinghua.edu.cn/simple
pip install tqdm -i https://pypi.tuna.tsinghua.edu.cn/simple
pip install packaging -i https://pypi.tuna.tsinghua.edu.cn/simple
pip install h5py -i https://pypi.tuna.tsinghua.edu.cn/simple
pip install ipython -i https://pypi.tuna.tsinghua.edu.cn/simple
pip install getkey -i https://pypi.tuna.tsinghua.edu.cn/simple
pip install wandb -i https://pypi.tuna.tsinghua.edu.cn/simple
pip install chardet -i https://pypi.tuna.tsinghua.edu.cn/simple
pip install matplotlib -i https://pypi.tuna.tsinghua.edu.cn/simple
pip install numpy==1.23.2 -i https://pypi.tuna.tsinghua.edu.cn/simple
pip install h5py_cache -i https://pypi.tuna.tsinghua.edu.cn/simple
pip install opencv-python -i https://pypi.tuna.tsinghua.edu.cn/simple
pip install tensorboard -i https://pypi.tuna.tsinghua.edu.cn/simple
pip install onnxruntime
pip install mujoco-python-viewer5.安装Isaac gym
在官网下载https://developer.nvidia.com/isaac-gym
先下载到自己的主机然后上传到共享文件,再解压gpu-free-data这个数据盘(注意选对服务器)
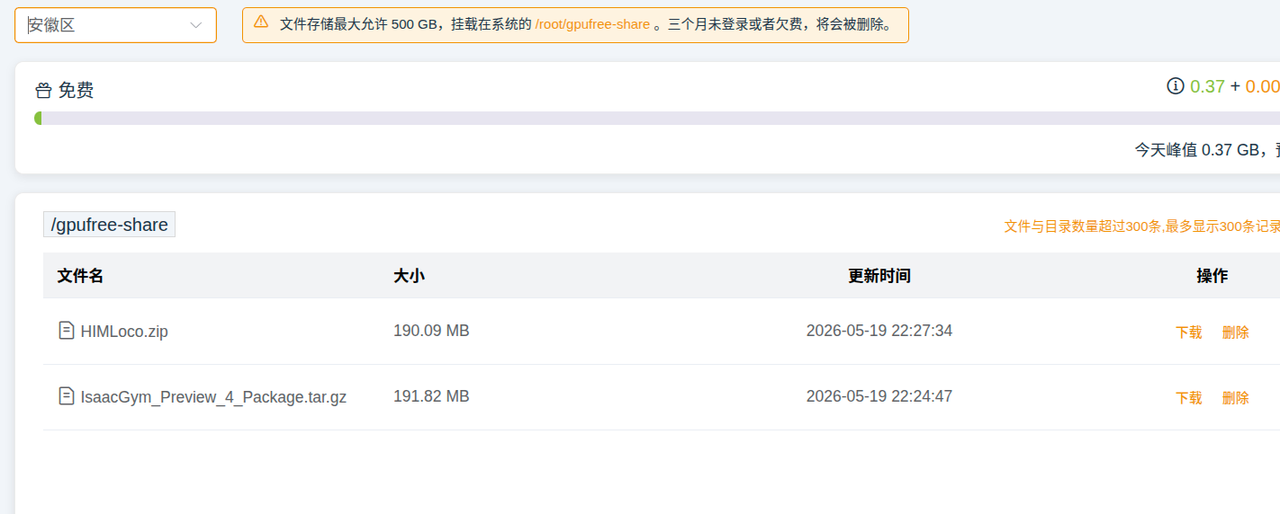
自己的工程也可以先上传到这里
plain text
tar -xzf IsaacGym_Preview_4_Package.tar.gz -C /root/gpufree-data/lost+foundplain text
cd /root/gpufree-data/lost+found/IsaacGym_Preview_4_Package/isaacgym/python
pip install -e .三.配置Himloco
1.下载工程
用git下载
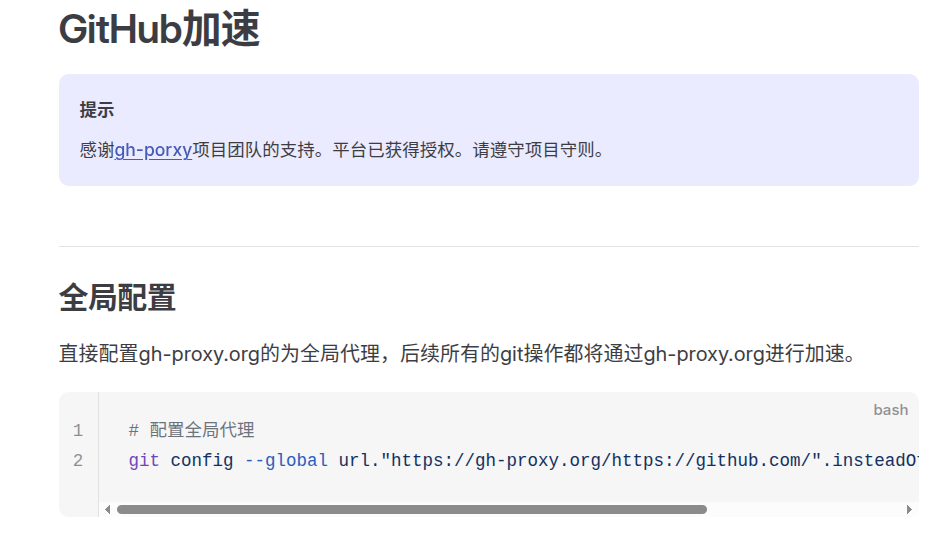
直接配置gh-proxy.org的为全局代理,后续所有的git操作都将通过gh-proxy.org进行加速。
plain text
git config --global url."https://gh-proxy.org/https://github.com/".insteadOf "https://github.com/"plain text
git clone https://github.com/OpenRobotLab/HIMLoco.git或者先下载上传到共享文件,然后再自己解压
plain text
apt update && apt install unzip -yplain text
unzip HIMLoco.zip -d /root/gpufree-data/2.安装rsl_rl
plain text
cd rsl_rl && pip install -e .3.安装legged_gym
plain text
cd ../legged_gym && pip install -e .4.安装tensorboard
plain text
pip install tensorboard四.开始训练
1.在 NVIDIA 驱动 580 环境中运行 IsaacGym 时,可能出现以下错误
plain text
internal error : libcuda.so!
[Warning] Failed to create a PhysX CUDA Context Manager. Falling back to CPU.
Physics Device: cpu
GPU Pipeline: disabled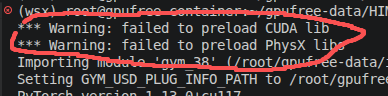
plain text
ls -lh /usr/lib/x86_64-linux-gnu/libcuda.so*
##用于检查 NVIDIA CUDA 驱动库的完整性与软链接结构,快速定位应用程序无法加载 GPU 驱动的根源系统缺少 libcuda.so 软链接,只有 libcuda.so.1
修复命令(恢复系统原生软链接)
plain text
ln -s /usr/lib/x86_64-linux-gnu/libcuda.so.1 /usr/lib/x86_64-linux-gnu/libcuda.so2.开始训练
plain text
cd /root/gpufree-data/HIMLoco/legged_gym/legged_gym/scripts
export LD_LIBRARY_PATH=$CONDA_PREFIX/lib:$LD_LIBRARY_PATH  ##让系统优先从当前 Conda 环境里找 .so 共享库
python train.py --task=你的机器人3.使用tensorboard查看训练曲线
plain text
tensorboard --logdir=/root/gpufree-data/HIMLoco/legged_gym/logs/rough_wdblh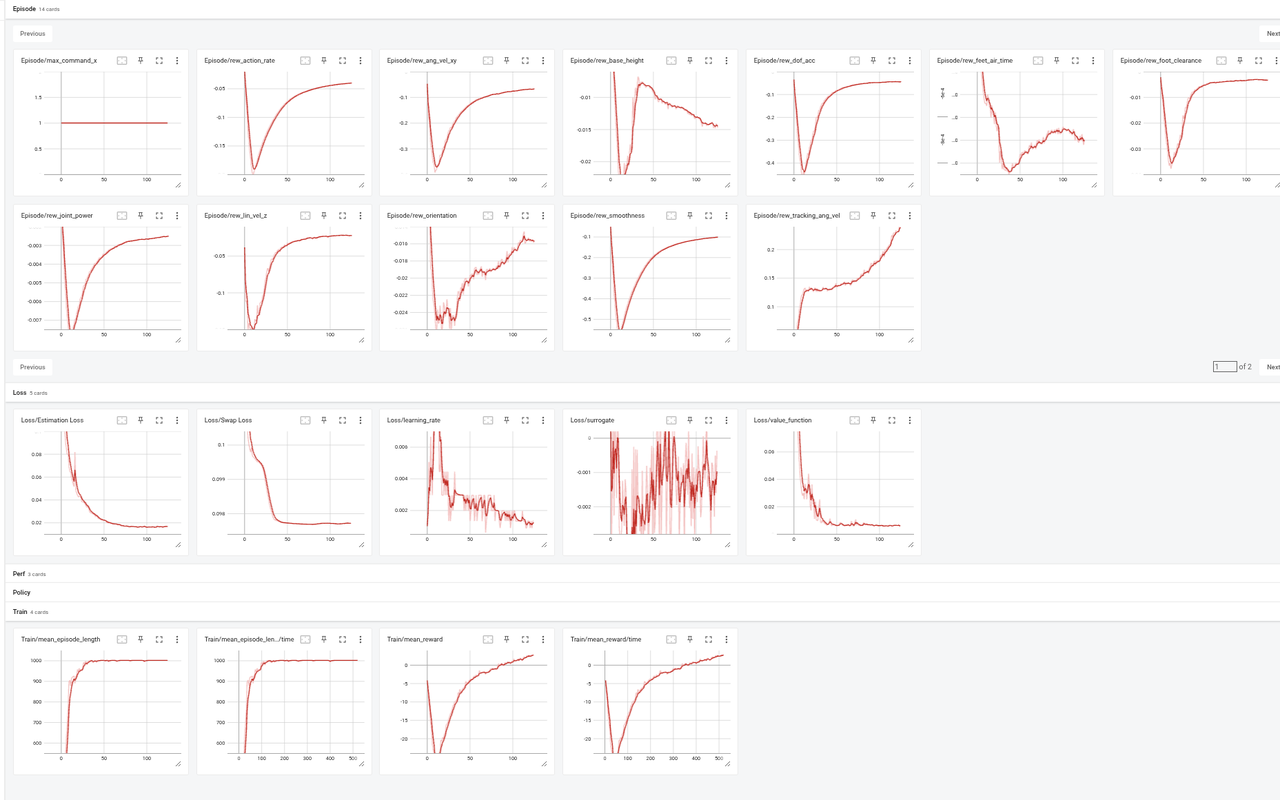
如果出现以下问题
plain text
TypeError: MessageToJson() got an unexpected keyword argument 'including_default_value_fields'可以降级 protobuf 到兼容版本
plain text
##先卸载当前版本的protobuf
pip uninstall -y protobuf
##安装与TensorBoard 2.14.0完全兼容的版本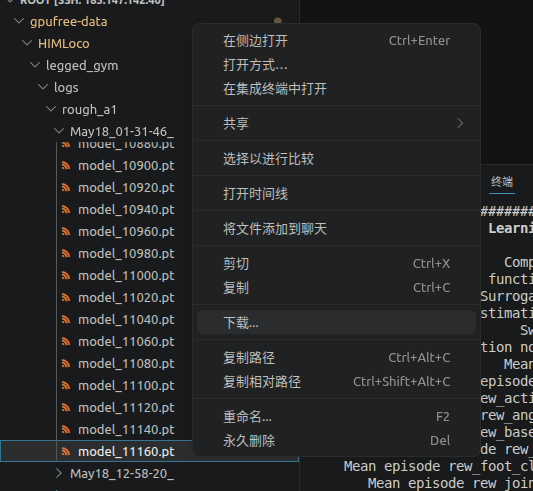
pip install protobuf==3.20.3五.取出pt文件
右键下载即可
六.mujoco仿真迁移验证
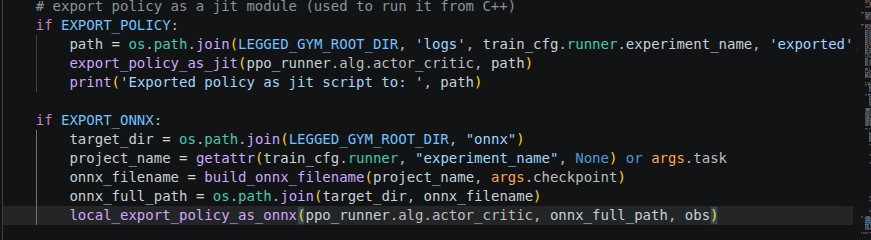
导出onnx文件,参考了Lain的play.py文件 从sim2sim到sim2real
plain text
export PYTHONPATH=. && python legged_gym/scripts/play.py --task=wdblh --load_run may17 --checkpoint 11160然后deploy就可以了